
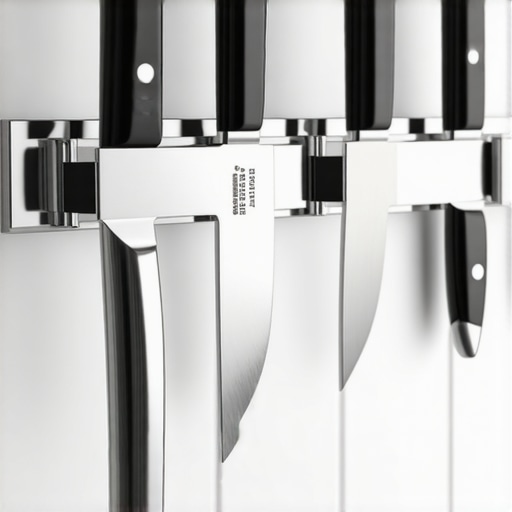
How to Mount a Heavy Knife Strip on a Tiled Backsplash
Gravity and expensive steel do not mix. If you spend thousands on a professional-grade setup, trusting a $15 magnetic strip to stick to a glass-smooth backsplash with double-sided tape is a recipe for a chipped blade or a ruined countertop. After fifteen years in high-end kitchen construction, I have walked into too many homes where a ‘no-drill’ solution failed, leaving a permanent scar on a luxury surface. The physics of shear stress are unforgiving. A heavy magnetic bar, loaded with a full set of forged knives, exerts constant downward pressure that most adhesives cannot sustain under the heat and humidity of an active cooking zone. You need a mechanical bond. Anything less is a gamble with your property value.
The Physics of Shear Stress
The primary challenge is the substrate. Porcelain and natural stone are non-porous. Adhesives rely on surface tension and chemical ‘bites,’ but the weight of industrial magnets creates a lever effect. When you pull a knife off the strip, you are not just applying downward force; you are pulling outward. This torque eventually fatigues the adhesive bond. In my experience, even the strongest VHB tapes eventually succumb to the grease and steam common in premium kitchens. A mechanical fastener, specifically a toggle bolt or a specialized masonry anchor, transfers that load directly to the wall studs or the cement board behind the tile. This is the only way to ensure the strip stays level and secure for decades. The technical truth? If your installer says tape is enough, find a new installer.
{image_placeholder}
The Diamond Core Requirement
Drilling into tile is where most DIYers—and even some ‘pros’—lose their nerve. Using a standard carbide masonry bit on modern porcelain is a fast way to crack the slab. Porcelain is harder than steel. You need a diamond-tipped core bit. These bits do not ‘drill’ in the traditional sense; they grind the material away. You must keep the bit cool with a steady drip of water to prevent thermal shock. I always tell my team to start the hole at a 45-degree angle to keep the bit from ‘walking’ across the tile and scratching the finish. Once the initial notch is established, you square the drill. It requires patience. High speed generates heat; low speed and consistent pressure get the job done without a disaster. This is especially true if you are working near an area where the backsplash grout is starting to crumble, as vibrations can exacerbate existing structural weaknesses.
Why Standard Plastic Anchors Fail
Avoid the little yellow or green plastic ribs that come in the box. Those are designed for drywall and light-duty applications. In a kitchen environment, the temperature fluctuates. Plastic expands and contracts at a different rate than the wall. Eventually, they wiggle loose. For a heavy knife strip, I use 3/16-inch toggle bolts if I can’t hit a stud. The toggle wings expand behind the backer board, spreading the load across a larger surface area. If you hit a stud, use a stainless steel wood screw. Stainless is non-negotiable. Carbon steel will rust in the steam of a boiling pasta pot, and that rust will bleed out through your grout lines, creating a stain that is nearly impossible to remove. I’ve seen $50,000 renovations marred by a $0.50 screw choice.
Implementation Risks and The Reality of Hidden Utilities
Before you pierce that tile, you must know what is behind it. Modern luxury kitchens are packed with electrical conduits for under-cabinet lighting and plumbing lines for pot fillers. A single stray drill bit can turn a 20-minute mounting job into a $2,000 emergency repair. I use a high-sensitivity stud finder with a ‘deep scan’ mode and a dedicated metal detector. Sensory anchors are your friend here. Listen for the hollow thud of a cavity versus the solid ‘clack’ of a stud. Feel the resistance of the drill. If the bit suddenly drops or the resistance changes, stop immediately. If you do happen to scuff the area, you might need to know how to restore the shine on your luxury granite or porcelain to hide the error. It is a messy reality that no one mentions in the manual: drilling is 10% execution and 90% preparation.
Strategic Foresight for Modern Kitchen Design
The industry is moving away from cluttered countertops. Homeowners want clean lines, which is why integrated storage solutions like magnetic strips are surging in popularity. However, we are also seeing a shift toward thinner, large-format porcelain slabs. These slabs are incredibly brittle. Traditional drilling techniques must evolve. In the next 12 to 24 months, I expect more ‘pre-slotted’ backsplashes where mounting points are water-jet cut during the fabrication process. This eliminates the risk of on-site cracking. If you are in the planning phase of a renovation, ask your fabricator about pre-drilling these holes. It’s a strategic move that saves time and mitigates the risk of a technician breaking a slab on the final day of the build.
The Executive Verdict
My recommendation is clear: Drill or don’t do it. If you are unwilling to pierce the tile, look for a drawer-based organizational system instead. Adhesive-mounted strips are a liability, not a luxury. If you choose to proceed, use diamond core bits, stainless steel fasteners, and toggle bolts for hollow-wall applications. This ensures that your high-end cutlery remains safely displayed and within reach, exactly where it belongs. Proper height is also a factor; refer to the countertop height that prevents back pain to ensure your knife placement is ergonomic for the primary cook.
FAQ
Q: Will drilling into my tile void my warranty?
A: Generally, no, provided the work is done to industry standards like those set by the Tile Council of North America (TCNA). However, always check with your builder first.
Q: Can I use a hammer drill?
A: Never use the hammer setting on tile. The percussion will shatter the glaze and likely crack the substrate. Use a standard rotary drill on a medium speed.
Q: What if I have glass tile?
A: Glass is even more temperamental than porcelain. You must use a specialized glass and tile bit and keep it submerged in a ‘dam’ of putty filled with water to prevent immediate cracking.
Q: How high should the strip be?
A: Mount it at least 6 to 8 inches above the counter to ensure the longest blade doesn’t hit the surface when docked, but low enough that the handle is within a natural reach.