
How to Fix a Loose Stand Mixer Hinge in Ten Minutes
A loose hinge on a high-end stand mixer is not just an annoyance. It is a mechanical failure that threatens the integrity of your entire appliance. After fifteen years of rebuilding these machines, I have learned that vibration is the enemy of precision. When that hinge pin begins to drift, your mixer loses its center of gravity. The motor works harder. The gears grind. The result? Avoidable failure. If you ignore the slight rhythmic clank of the head against the base, you are essentially waiting for the metal to fatigue. This is a fixable problem that requires ten minutes and a rudimentary understanding of torque. We are talking about the structural bottleneck of your kitchen’s most powerful tool. Fix it now, or prepare to replace the entire motor housing when the casting finally cracks under the strain of misaligned vibration.
The Engineering Reality of Hinge Drift
The tilt-head mechanism relies on a single steel hinge pin held in place by a headless set screw located in the underside of the base. This design is elegant but susceptible to the laws of physics. High-hydration doughs create lateral forces that pulse through the chassis. Over time, these pulses vibrate the set screw loose. Once the screw loses its bite, the hinge pin begins to ‘walk’ out of one side of the bore. You might notice the head tilting slightly to the left or right. This misalignment causes the beater to strike the side of the stainless steel bowl. Mechanics don’t lie: metal-on-metal contact at high RPMs produces heat and micro-shaving. You can find more details on how to adjust the tension on your stand mixer head if you want to understand the exact pressure points involved. The goal is a centered, static pivot point. Without it, the planetary action of the mixer is compromised, leading to uneven aeration and poor gluten development.
The Ten-Minute Correction Strategy
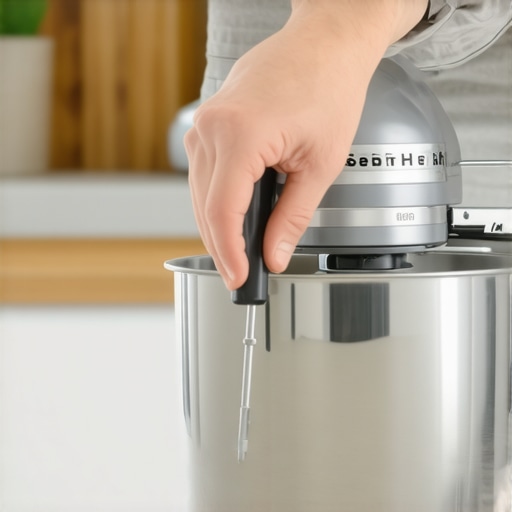
First, disconnect the power. Safety is non-negotiable. Lay the mixer on its side on a soft towel to prevent scratching the powder-coated finish. Locate the small hole in the base directly under where the head meets the body. Inside this hole sits the culprit: a flat-head or Allen set screw. Use a screwdriver with a hardened tip to ensure you don’t strip the head. Tighten it firmly, but do not bottom it out with excessive force. If the pin has already drifted, you must tap it back into a centered position using a rubber mallet before tightening the screw. This is often why your stand mixer head won’t lock into place correctly; the latch cannot find its seat because the hinge is skewed. I recommend applying a single drop of blue thread-locker to the screw threads. This prevents future drift without making the screw impossible to remove for future maintenance. It is a professional-grade solution for a common household headache.
Vibration Harmonics and Operational Risk
What happens if you keep running a wobbly mixer? The damage is cumulative. The internal worm gear is designed to mesh at a specific angle. When the hinge is loose, the head bounces during heavy loads, changing that angle by fractions of a millimeter. This causes the gear teeth to ‘ride’ high, leading to rapid wear. You might see silver flakes in your gear grease—that is the sound of your machine dying. This instability is also why you need to learn how to stop your stand mixer from vibrating on high-speed. The smell of burning ozone or hot grease is a signal that the motor is fighting the friction of its own housing. According to the ASME (American Society of Mechanical Engineers) standards for threaded fasteners, even a 10% loss in clamp load can lead to catastrophic joint failure in high-vibration environments. Your mixer is a high-vibration environment. Treat it with the respect that industrial engineering demands.
Strategic Foresight: The Future of Appliance Maintenance
The industry is shifting. Newer models are incorporating lighter alloys to reduce shipping costs, but these materials lack the dampening properties of old-school cast iron. This means the next generation of luxury mixers will be even more prone to hinge drift and screw back-out. In the next 24 months, I expect to see more ‘smart’ sensors that detect housing misalignment, but these are just digital band-aids for physical problems. The true value lies in mechanical literacy. Understanding how to store your stand mixer so it lasts decades is half the battle. The other half is recognizing when the machine is ‘talking’ to you. A rattle is a request for maintenance. Ignoring it is a choice to spend $500 on a replacement next year.
Executive Verdict
If your mixer head has more than 2mm of lateral play, stop using it immediately. Perform the set-screw tightening procedure described above. It is a low-skill, high-impact fix. If the pin continues to walk even after tightening, the bore in the base may be wallowed out, necessitating a more complex shim repair or a base replacement. For most users, a simple tightening with a drop of thread-locker will solve the issue permanently. Keep your machine clean, keep the hinge tight, and monitor for heat. If you are struggling with thermal issues, investigate why your stand mixer is getting hot during bread kneading as these issues often overlap. Physical integrity is the foundation of culinary precision. Don’t let a loose screw ruin a decade of baking.
FAQ
Q: Can I use WD-40 on the hinge pin?
A: No. WD-40 is a solvent, not a lubricant. Use a tiny amount of food-grade mineral oil or high-temp grease if the hinge is squeaking, but never on the set screw itself.
Q: How tight should the set screw be?
A: Tighten until it is snug, then add a quarter turn. Over-tightening can strip the soft aluminum threads in the base casting.
Q: Why does my mixer still shake after tightening?
A: Tightening the hinge fixes the ‘walking’ pin, but vibration can also be caused by worn feet or an unbalanced beater-to-bowl clearance. Check your ‘dime test’ settings next.
Q: Is the hinge pin supposed to be flush?
A: It should be centered. On most models, this means it sits slightly recessed on both sides of the neck. If it protrudes on one side, it is not properly seated.