
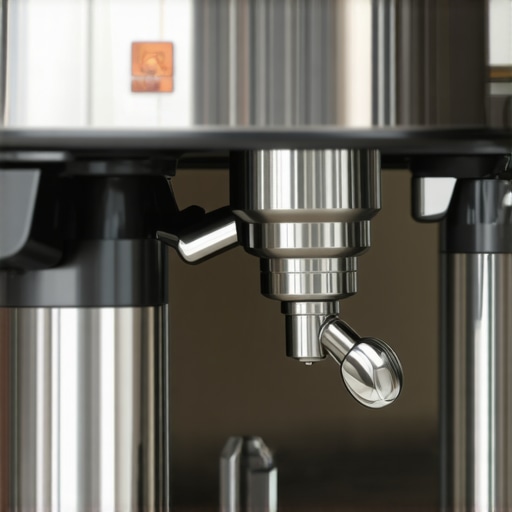
How to Fix the Steam Wand Leak on Your Prosumer Machine
A leaking steam wand is a direct assault on the thermal stability of your luxury kitchen setup. It is not merely a cosmetic drip; it is a pressurized failure that bleeds out boiler temperature and introduces scale-forming minerals where they don’t belong. After fifteen years of tearing down E61 group heads and dual-boiler beasts, I have learned one hard truth. Most home baristas wait until the drip becomes a stream, by which point the valve seat is often pitted beyond a simple gasket swap. Neglecting a leak costs more than water—it costs the life of your heating element. Fixing it requires understanding the brutal physics of steam expansion and the limitations of elastomers under constant heat.
The Mechanical Reality of Steam Seals
Prosumer machines typically use one of two systems: a compression valve or a ball-joint assembly. In a compression system, a rubber or PTFE pad is forced against a metal orifice. Over time, the constant heat-cool cycles cause the material to harden and lose its rebound. If you have to crank the knob harder every week just to stop the hiss, you are already killing the valve. The result? Metal-on-metal deformation. The reason your steam wand is losing pressure suddenly is often tied to these micro-failures within the internal seals. When the seal fails to seat perfectly, steam escapes, condenses, and forms that persistent drip from the tip. Repairing this involves more than just a wrench; you need to inspect the brass face for scoring. If the metal is scratched, a new gasket is just a temporary fix for a permanent mechanical wound.
The ROI of Quality Sealants and Parts
When you open the casing, the smell of hot brass and old coffee oils hits you immediately. It is an industrial environment inside that polished stainless steel box. Using cheap, generic O-rings from a hardware store is a recipe for disaster. These generic rings are not rated for the 1.5 to 2.0 bar pressures found in high-end boilers. You need food-grade, high-temperature Viton or silicone. While you are in there, check the vacuum breaker valve and the espresso machine group gasket for signs of dry rot. Replacing these components simultaneously is the only strategic way to manage machine downtime. The labor is the same whether you replace one seal or five. Smart owners treat the steam assembly as a single unit of maintenance. A well-maintained wand ensures that your espresso machines continue to deliver dry, powerful steam rather than wet, bubbly foam that ruins a latte.
Why Standard Repair Methods Often Fail
The most common mistake is over-tightening. In the world of high-end espresso equipment, more torque is rarely the answer. I have seen countless prosumer machines with snapped valve stems because the owner thought muscle could overcome a worn gasket. Another risk is scale buildup. Calcium deposits act like sandpaper against your gaskets. Even if you use filtered water, the concentration of minerals in the boiler increases over time. This grit migrates to the steam wand and shreds the seals from the inside out. You can follow our guide on fixing the drip from your espresso machine steam tip, but if your water chemistry is off, the leak will return in six months. This is why the scale buildup error is the primary killer of boiler-fed systems. The grit is abrasive. It is unforgiving.
Market Shifts in Machine Design
We are seeing a massive shift toward joystick-style steam actuators over traditional twist knobs. Joysticks use a spring-loaded ball valve that is either fully open or fully closed. This design reduces the chance of user error—specifically the over-tightening mentioned earlier. Over the next two years, expect more manufacturers to move away from rubber compression washers entirely in favor of ceramic discs, similar to high-end bathroom faucets. This will increase the initial cost of the machine but drastically reduce the frequency of leaks. For those with legacy machines, the strategy remains the same: proactive seal replacement every 12 to 18 months regardless of whether a leak is present. It is the only way to ensure the integrity of your luxury kitchen investment.
The Executive Strategy
If your machine is dripping, stop using it immediately. The moisture can migrate to the PID controller or the brain box, turning a $20 gasket repair into a $400 electronics overhaul. If you are mechanically inclined, buy a full rebuild kit with high-temp lubricant. If not, call a professional. My verdict: Replace the gaskets at the first sign of a ‘soft’ handle feel. Do not wait for the water. Precision in maintenance equals longevity in performance. That is the standard for any professional-grade appliance.
Technical FAQ
Can I use plumber’s tape on the steam wand threads?
No. Most steam wand leaks occur at the internal seal, not the threads. Adding tape can actually prevent the wand from seating properly, worsening the internal leak.
Why does the leak stop once the machine is fully heated?
Thermal expansion. As the metal components and the gasket heat up, they expand and may temporarily close the gap. However, the seal is still compromised and will eventually fail completely.
How often should I lubricate the steam wand ball joint?
Every six months. Use Molykote 111 or a similar food-grade silicone grease to keep the movement smooth and prevent the O-rings from tearing during use.
“