
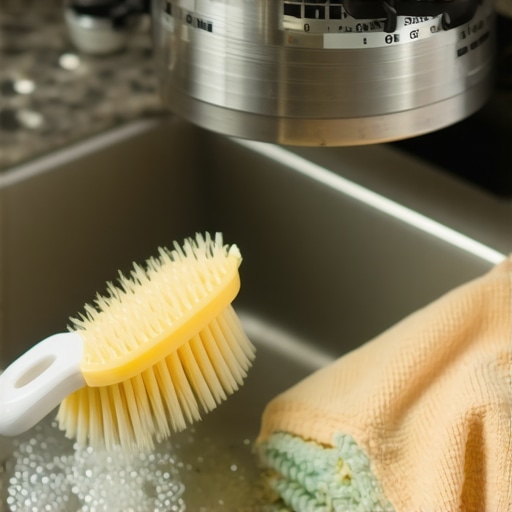
The splash guard gasket is the silent failure point in high-end baking. My fifteen years in the kitchen appliance refurbishment industry confirms one thing: the crevice between the shield and the seal is a microbiological reservoir. Most owners assume a quick rinse suffices. They are wrong. Failure to sanitize this component leads to cross-contamination that no amount of premium flour can mask. The stake here is simple. You either maintain the structural integrity of your food-safe seals, or you risk introducing rancid fats into your next batch of brioche. This is about precision, not just tidiness.
How to Clean the Gasket on Your Stand Mixer’s Splash Guard
The mechanics of a splash guard gasket rely on a tight friction fit, often involving food-grade silicone or specialized rubber polymers. Over time, capillary action pulls fine particulate—flour dust, sugar crystals, and butter aerosols—into the void between the gasket and the transparent shield. This creates a tacky, abrasive paste. If left unaddressed, this paste acts like sandpaper against the plastic. It causes micro-fissures. You might notice why your stand-mixer flour shield never seems to stay in place as the gasket loses its grip due to this buildup. The technical truth is that dishwashers are the enemy of these gaskets. The high-heat drying cycle leaches plasticizers from the material. This makes the gasket brittle and prone to snapping during removal.
Cleaning requires a strategic approach. You must first decouple the gasket from the shield using a non-marring tool. A plastic putty knife or a blunt-edged silicone spatula works best. Avoid metal. One slip with a stainless steel knife and you have a permanent scratch that harbors bacteria. Once removed, the gasket should be submerged in an enzymatic cleaner or a solution of warm water and a neutral pH detergent. This breaks down the proteins and fats that standard soap misses. While the gasket soaks, inspect the rim of the splash guard itself. Look for the ‘smell of souring flour.’ If you detect a fermented or acidic odor, the biofilm has already established itself. This is common in machines with a high-torque DC motor where the vibration can actually settle particles deeper into the hardware than in AC models.
The Risks of Improper Seal Maintenance
The messy reality of appliance maintenance involves the ‘tacky touch.’ If you run your finger along the gasket and it feels sticky despite being ‘clean,’ the polymer is degrading. I once saw a client in a high-volume bakery lose an entire day of production because their splash guard seal had fused to the bowl rim. The result? Avoidable failure. When you force a stuck gasket, you risk warping the shield. Or worse, you might ignore the fact that your stand mixer is leaking oil into the bowl, mistaking the lubricant for simple kitchen grease. These sensory anchors—the smell of old oil, the greyish tint of oxidized rubber—are your early warning systems. Ignoring them leads to a total loss of the attachment’s functionality. According to standards set by NSF International, food-contact surfaces must be free of pits and crevices to be considered truly sanitary, a standard most home bakers unknowingly violate daily.
The Future of Food-Safe Polymers
The industry is shifting. In the next 12 to 24 months, we expect to see a move toward medical-grade, platinum-cured silicone in luxury kitchen appliances. These materials resist the ‘flavor ghosting’ and yellowing that plague current gaskets. We are also seeing more stringent FDA regulations regarding the chemical stability of seals in high-heat environments. As a professional, I anticipate a market correction where manufacturers move away from the ‘one-piece’ splash guard design in favor of fully modular, gasket-free locking systems. For now, the executive verdict is clear: Buy a backup gasket. Treat the current one with manual care. If your gasket shows signs of cracking, thinning, or a permanent odor, replace it immediately. Do not attempt to ‘save’ a compromised seal with bleach; you will only accelerate the chemical breakdown.
Frequently Asked Questions
Can I use vinegar to clean the silicone gasket?
Vinegar is an effective acetic acid for descaling, but it can be too aggressive for certain low-grade rubber gaskets if used at full strength. Dilute it 1:4 with water to prevent the material from drying out.
How often should I remove the gasket for deep cleaning?
For the casual baker, once every five uses is sufficient. For sourdough or high-hydration doughs that create significant steam and splatter, you should decouple and clean the gasket after every use.
Why is my gasket turning yellow?
This is typically UV degradation or lipid absorption. If the gasket is yellow and brittle, it is end-of-life. If it is yellow but still flexible, an oxygen-based cleaner soak may lift the staining.