
How to Clean the Gunk Under Your Air Fryer Heating Element
Ignoring the residue clinging to your air fryer’s heating element is a gamble with both culinary quality and fire safety. After fifteen years of diagnosing high-end kitchen equipment failures, I can confirm that grease accumulation isn’t just an aesthetic problem. It is a thermodynamic barrier. When grease vaporizes and then cools on the resistive coil, it forms a carbonized shell. This shell acts as a thermal insulator, forcing the element to draw more current to reach the set temperature. The result? Premature component fatigue and, frequently, a persistent acrid odor. You aren’t just cleaning; you are performing essential preventative maintenance to protect your investment in premium air fryers.
The Thermodynamics of Neglect
Air fryers operate on the principle of high-velocity convection. Heat is generated by a coiled element and driven downward by a fan. If that element is coated in old oil, the heat transfer efficiency drops. According to UL Solutions, electrical appliances must maintain specific thermal clearances and surface cleanliness to operate within safety parameters. Carbonized gunk increases the surface temperature of the element itself while reducing the ambient temperature in the basket. This explains why some air fryers cook faster on the left side or suffer from inconsistent browning. The grease absorbs the energy meant for your food. Worse, at high temperatures, this buildup can reach its flash point. The National Fire Protection Association notes that cooking equipment is the leading cause of home fires; a dirty heating element is a silent contributor to those statistics. This isn’t theoretical. I have seen countless luxury units scrapped because a lack of cleaning led to a short circuit in the thermal fuse.
Precision Cleaning Protocol
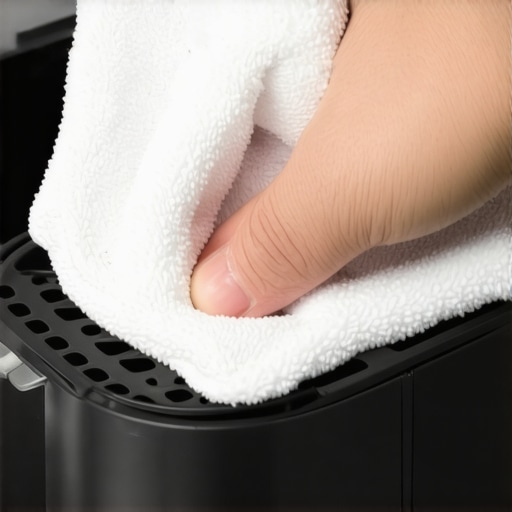
Do not approach this with a standard sponge and dish soap. That is the quickest way to ruin the ceramic coating or the element’s structural integrity. First, disconnect the power. Safety isn’t optional here. Invert the appliance. This sounds simple, yet most owners struggle with the physical ergonomics of cleaning the ceiling of the heating chamber. Use a soft-bristled nylon brush to dislodge dry debris. For the stubborn, sticky ‘gunk,’ create a paste of sodium bicarbonate and a minimal amount of water. Apply it specifically to the element using a cloth, avoiding the electrical connections. Let it sit for twenty minutes. This chemical reaction breaks down the lipids without the need for caustic chemicals that could damage the interior. This is a critical step because you want to avoid the appliance smelling like burnt plastic from leftover cleaning residue. Wipe clean with a damp—not dripping—microfiber cloth. Repeat until the metal feels smooth to the touch. This process is closely linked to how you clean the fan blades, which are usually located right behind the coil and suffer from the same aerosolized grease buildup.
Failure Points of DIY Maintenance
The biggest risk during this process is moisture ingress. If water or cleaning solution seeps into the housing where the heating element meets the wiring, you risk a catastrophic short. I have watched experienced home cooks ruin $400 machines by being too aggressive with a spray bottle. Another risk? Abrasive tools. Using steel wool on an element can create micro-scratches. These scratches become magnets for future grease, accelerating the very problem you are trying to solve. You also need to understand the difference between forced air and conventional heating to appreciate why the element surface must be pristine. In a forced-air system, any obstruction to the radiant heat path creates ‘cold spots’ in the air stream. The grit you feel under your fingers is essentially a barrier to perfect crispy skin. I remember a client who complained their wings were soggy; the culprit was a millimeter-thick layer of carbonized chicken fat on the element’s underside.
The Future of Serviceable Kitchen Tech
We are entering an era where the ‘disposable appliance’ model is failing the luxury consumer. Over the next 24 months, I expect to see a shift in high-end air fryer design toward removable heating elements or ‘self-cleaning’ catalytic liners, similar to those found in premium wall ovens. The demand for longevity in luxury kitchen,espresso machines,air fryers,stand mixers,premium cookware is driving manufacturers to reconsider internal access. Until then, the burden of maintenance remains with the owner. Regulatory changes in some regions are pushing for ‘Right to Repair’ legislation, which may eventually force brands to provide easier access to these internal components. For now, manual cleaning is the only way to ensure your machine lasts its intended five-to-seven-year lifespan rather than burning out in eighteen months.
Strategic Maintenance Verdict
My professional recommendation is a ‘Buy/Hold’ strategy on your maintenance schedule. Clean the element every 10-15 uses. If you are a heavy user of high-fat foods, increase this frequency. If you notice smoke during the preheat cycle, stop immediately and clean. The cost of ten minutes of labor is negligible compared to the $300+ cost of a luxury replacement unit. Actionable strategy: Invert your machine today. Inspect the element. If it isn’t metallic and shiny, you are already losing efficiency. Fix it before the carbonization becomes permanent.
Frequently Asked Questions
Can I use oven cleaner on my air fryer element? Absolutely not. Most oven cleaners are highly caustic and will corrode the aluminum or ceramic coatings used in air fryers. Stick to baking soda or specialized non-toxic degreasers.
Is it normal for the element to turn black? Some discoloration from heat is normal, but a thick, textured, or sticky coating is grease buildup that must be removed.
How do I know if I’ve damaged the element while cleaning? If you see cracks in the outer casing of the element or if the machine fails to heat up, the element has likely suffered a structural or electrical failure. Replace the unit; do not attempt to patch a damaged coil.