
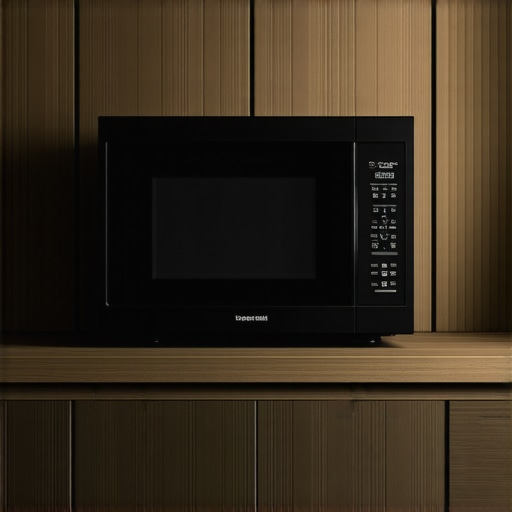
How to Install an Under-Counter Microwave Without the Visual Clutter
A $20,000 waterfall island is the visual anchor of a luxury kitchen, yet homeowners frequently sabotage the architecture by placing a plastic microwave right on the stone. It is an engineering insult. After fifteen years in the high-end renovation trade, I have seen every possible failure. The biggest mistake is thinking about convenience before clearance. Visual clutter is not just about the appliance itself; it is about the breaks in the cabinetry lines and the poorly executed gaps between the machine and the wood. We are not just hiding a box. We are maintaining the structural and aesthetic integrity of the most expensive room in your home. This requires a shift from standard consumer-grade thinking to industrial-grade precision.
The Geometry of Hidden Integration
Integrating a microwave below the counter requires more than just a deep shelf. Most people buy a standard countertop unit and shove it into a hole. This is a recipe for cabinet rot. You must choose between a microwave drawer or a built-in unit with a flush-mount trim kit. The drawer is the gold standard. It provides a flat face that aligns with your drawer banks, keeping the profile clean. If you are using a swing-door model, you face a mechanical hurdle: the door arc. Without a zero-clearance hinge, you have to recess the unit significantly, creating a dark, dust-collecting cavern. You need to know how to hide the ugly small appliances on your luxury countertops without compromising the workflow. This isn’t just about looks. It’s about the ergonomics of bending. A drawer microwave opens with a button, presenting the food from the top, which is much safer than reaching into a dark hole for hot liquid. Unlike heavy stand mixers that require lift-mechanisms, the microwave needs to be static and perfectly level to ensure the magnetron functions optimally.
[IMAGE_PLACEHOLDER]
Thermal Realities and Cabinet Degradation
The technical truth that generic blogs ignore is thermal dissipation. Microwaves generate intense localized heat and steam. If you enclose a unit without a dedicated ventilation plenum, you are essentially building a slow-motion pressure cooker for your cabinetry. I have seen $60,000 custom walnut islands with delaminated veneers because the homeowner forgot to account for the steam vent. This is why why most luxury renovations overlook proper ventilation and pay the price later. You must ensure the trim kit has integrated airflow channels. When the microwave runs, you should feel a slight, cool breeze from the vents, not a stagnant buildup of humidity. According to the National Kitchen & Bath Association (NKBA) guidelines, specific clearances must be maintained to prevent fire hazards and ensure the longevity of the appliance. If your cabinet doors won’t close flush, it’s often due to heat-induced warping from nearby appliances. Precision is the only defense against this structural decay.
Electrical Infrastructure and Code Compliance
Power is the silent killer of a clean install. A microwave requires a dedicated 20-amp circuit. You cannot just pig-tail it off the outlet used for your espresso machines or air fryers. If you do, you will be tripping breakers every time you try to heat a snack while brewing a latte. The outlet must be recessed into the back of the cabinet carcass. If the plug sticks out two inches, your microwave will protrude past the cabinet face, ruining the flush aesthetic. Use a clock-box or a recessed outlet. This allows the unit to sit deep. Also, consider the weight. A high-end built-in unit is heavy. You need a reinforced cabinet floor, especially if you are using a the most durable countertop material like quartzite or thick granite on top. The International Residential Code (IRC) requires specific accessibility for the shut-off, so do not bury the plug where it cannot be reached in an emergency.
Future Proofing the Kitchen Workspace
The market is shifting. We are moving away from the ‘appliance-heavy’ look toward a minimalist, furniture-like feel. In the next 12 to 24 months, we expect to see even more integration for items like premium cookware storage and hidden prep stations. If you install an under-counter microwave now, size the opening for a 30-inch standard. Even if your current unit is 24 inches, use a 30-inch trim kit. This allows you to upgrade later without rebuilding the entire cabinet stack. The result? A kitchen that ages with the property. Avoid the trend of ‘micro-hoods’ over the range; they are the mark of a developer-grade kitchen. True luxury is found in the separation of functions. Keep your cooking zones distinct.
The Executive Verdict
My recommendation is simple. If you are renovating, buy a dedicated microwave drawer. Do not try to ‘hack’ a countertop model into a cabinet. The $500 you save on the appliance will be spent twice over in custom trim work and eventually, cabinet repair. Ensure your contractor uses a recessed electrical box and double-checks the vent path. If you are in a high-humidity area, add a moisture-resistant liner to the cabinet interior. This is the only way to achieve a professional result that lasts twenty years. Precision over convenience, every single time.
Frequently Asked Questions
Can I put a regular microwave in a drawer?
No. Regular microwaves are designed for side-swinging doors and lack the specialized cooling systems for enclosed under-counter use. A drawer microwave is a specific category of appliance engineered for this exact purpose.
Does an under-counter microwave need a vent to the outside?
Typically, no. They use internal recirculating vents that push air out through the front trim kit. However, you must use the manufacturer-approved trim kit to ensure these vents aren’t blocked by your cabinetry.
Is it hard to clean a microwave drawer?
Actually, it is easier. Since you are looking down into the unit, you can reach all corners without kneeling. Most high-end models also feature a ‘clean’ mode that loosens debris with steam, making maintenance straightforward for any high-end kitchen.