
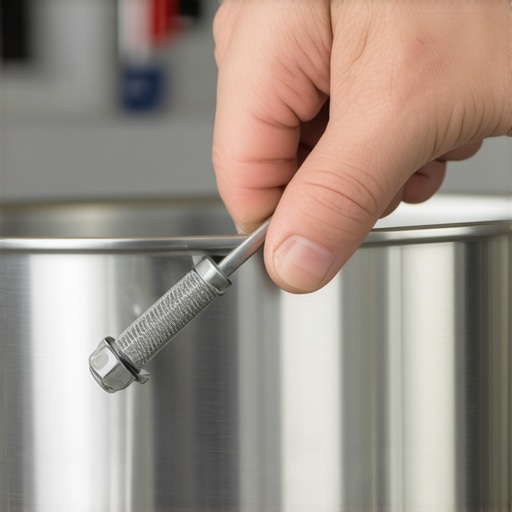
A loose handle on a professional sauté pan is more than a minor kitchen grievance; it is a fundamental failure of metallurgical integrity that poses a severe safety risk. When you are tossing three pounds of protein and hot aromatics over a high-output gas flame, a mechanical failure at the rivet point results in catastrophic spills. My fifteen years in the high-end culinary hardware industry taught me that handle wiggle is rarely a sign of ‘age’ and almost always a symptom of thermal expansion fatigue or substandard rivet compression. If you ignore it, you risk the handle shearing off entirely. The weight of industrial-grade 304 stainless steel, coupled with the torque of a full pan, requires a rigid, unyielding connection.
How to Fix a Loose Handle on Your Professional Sauté Pan
The solution depends entirely on how the manufacturer attached the handle. Professional-grade pans, like those discussed in our analysis of cold-pressed and forged cookware, typically use heavy-duty rivets. These rivets are essentially solid metal pins that have been crushed under thousands of pounds of pressure to create a permanent bond. Over hundreds of heat cycles, the pan body and the handle expand and contract at slightly different rates, a phenomenon known as differential thermal expansion. This movement eventually creates microscopic gaps between the rivet head and the pan wall. The result? That distinctive, unsettling clank every time you lift the pan.
To fix a riveted handle, you need a solid backing and a ball-peen hammer. Position the pan so the external rivet head rests against a heavy, flat iron surface or an anvil. Using the flat face of the hammer, strike the internal side of the rivet with precise, moderate force. This process, known as ‘peening,’ expands the metal of the rivet to fill the void. This is the same technique used in shipyards and aerospace assembly. It requires a steady hand and a focus on precision. If you strike too hard, you risk warping the pan’s radius or cracking the cladding. For pans with heavy bottom construction, the thickness of the base provides some stability during this repair, but the sidewalls remain vulnerable. Avoid using a standard claw hammer; the lack of a balanced weight distribution will lead to uneven pressure and potential surface scarring.
The Reality of Failed Fasteners
What if your pan uses screws instead of rivets? This is common in some ‘prosumer’ lines but is widely considered an inferior engineering choice for high-volume environments. Screws rely on friction and thread depth. Once those threads are stripped by the constant stress of lifting and cleaning, the handle is essentially a ticking clock. In my experience, even high-temp thread locker often fails under the intense heat of a 500-degree oven. If your handle is screwed on and remains loose despite tightening, the internal threads in the handle shank are likely oblong. The pan is no longer safe for professional use. You are better off understanding the real difference between carbon steel and cast iron or high-end stainless options that feature permanent, multi-point riveting for your next investment.
Looking toward the 2025 market, we are seeing a shift away from aesthetics and back toward ‘over-engineered’ durability. Local culinary professionals are increasingly rejecting welded handles, which lack the sheer strength of a through-rivet design. This market correction is driven by the rising cost of high-grade nickel and chrome, leading manufacturers to cut corners on fastener quality. As an owner, you must demand 18/10 stainless steel rivets that match the alloy of the pan body to prevent galvanic corrosion. According to the Cookware & Bakeware Alliance (CBA) engineering standards, the pull-force required to detach a professional handle should exceed the weight of the pan’s capacity by a factor of four. Cheap replacements rarely meet this threshold. The industrial reality is that a pan is only as good as its weakest connection point.
My executive verdict is straightforward: If the rivets are loose, peen them back into place once. If they loosen a second time, the metal has reached its fatigue limit and has lost its elastic memory. At that point, the pan belongs in the scrap bin, not on your range. Safety in a high-performance kitchen is non-negotiable. Actionable strategy: Inspect your rivets every quarter. A quick tap-test with a wooden spoon will reveal a hollow sound if the bond is failing before you even feel the wiggle. Maintain your gear with the same precision you use for your recipes.
Frequently Asked Questions
Can I use a screwdriver to tighten my sauté pan handle?
Only if your pan is specifically designed with screws. Professional-grade pans typically use rivets, which require a hammer and anvil to tighten. Screws are less durable and prone to stripping in high-heat environments.
Is it safe to use a pan with a slightly wobbly handle?
No. A wobbly handle indicates mechanical fatigue. Under the weight of heavy food, the handle could fail entirely, causing severe burns or injuries.
Why do rivets loosen over time?
This is caused by thermal expansion. The repeated heating and cooling of the pan cause the metal to expand and contract at different rates, eventually widening the rivet holes.
Should I apply grease to the handle connection?
Never. Grease will carbonize under heat, creating a sticky, unsanitary buildup that can actually accelerate the loosening process by acting as a lubricant between the handle and the pan wall.