The metallic scrape of a stainless steel whisk against a polished bowl is more than an annoyance. It is a loud signal of mechanical drift that risks the longevity of your machine and the purity of your ingredients. After 15 years maintaining high-end culinary gear, I have seen home cooks ignore this ‘tink-tink’ sound until the planetary gears strip or the bowl finish flakes into the batter. This is not a manufacturing defect in most cases; it is a maintenance gap. Precision matters in luxury kitchen tools, and even a fraction of a millimeter in axial deviation can transform a stand mixer from a powerhouse into a liability. Understanding the mechanics of clearance is the first step toward reclaiming your equipment’s performance.
Why Your Stand Mixer’s Whisk Attachment Is Hitting the Bowl Side
Mechanical drift happens. Every time you lock the head of a tilt-head mixer, a locking pin engages. Over hundreds of cycles, the vibration from high-torque tasks—like kneading low-hydration dough—slowly backs out the height adjustment screw. This screw controls the beater-to-bowl clearance. If the clearance is too tight, the whisk wire catches the side of the bowl. The result? Excessive friction that heats the motor and wears down the drive-train gears. I’ve seen cheap knockoffs fail because their housings can’t hold these tolerances, which is why I often suggest the weight test to identify machines with the structural integrity to maintain calibration. When the whisk hits the side, you aren’t just losing steel; you are losing the efficiency of the planetary action.
The Physics of Planetary Drift
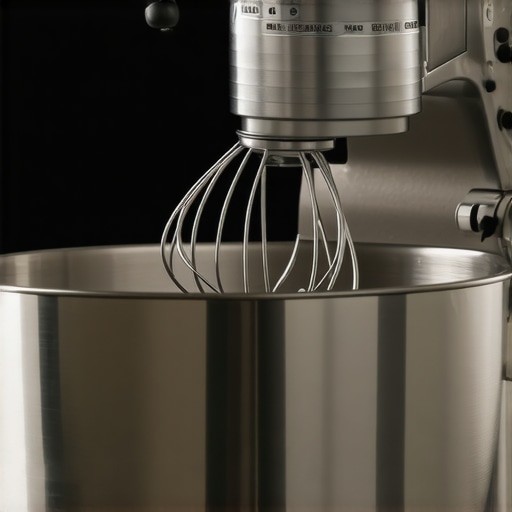
Stand mixers use a planetary gear system where the attachment moves in one direction while the head rotates in the opposite. This ensures the whisk reaches the edges of the bowl. However, this movement generates centrifugal force. If the attachment is not seated correctly or if the neck of the mixer has loosened, the whisk will flare outward during high-speed whisking. This is particularly noticeable when whipping egg whites where the speed is maxed out. You might notice the planetary action flaw inherent in lower-grade units where the internal tolerances are too loose from the factory. High-end machines offer an adjustment screw specifically to counteract this drift, usually hidden within the hinge of the tilt-head.
IMAGE_PLACEHOLDER_1
The Three Point Calibration Protocol
To fix the whisk hitting the bowl, you need more than a screwdriver; you need a methodical approach to clearance. First, perform the ‘Dime Test.’ Drop a clean dime into the bowl and run the mixer on low with the flat beater. The beater should move the dime roughly half an inch every rotation. If the dime jumps or the beater gets stuck, the head is too low. If the dime doesn’t move, it is too high. This adjustment is sensitive. A quarter-turn of the screw can move the attachment height by several millimeters. While you have the head open for adjustment, it is a good time to inspect the lubrication. Many users wait until they hear a grinding sound, but knowing how to grease your mixer gears prevents the heat buildup that causes the metal components to expand and shift out of alignment. Heat is the enemy of precision. If your machine runs hot, the calibration will never stay true.
Where Engineering Meets Operator Error
Sometimes the machine isn’t the problem. The user is. Using a whisk attachment for heavy dough is a recipe for a bent frame. The whisk is designed for aeration, not agitation of dense masses. I have replaced dozens of planetary assemblies because a baker tried to force a whisk through cold butter. The wires bend, the shaft tilts, and the next thing you know, you have metal shavings in your frosting. This stress also impacts the motor. Modern DC motors are better at handling these loads without losing calibration, but even they have limits. If you feel the machine vibrating excessively, stop. Check the hinge pin. A loose hinge pin allows the entire head to shift laterally, causing the whisk to strike the bowl side even if the height is correct. Tighten the set screw on the side of the base to lock that pin in place. It is a simple fix that most people overlook until the machine literally walks off the counter.
Executive Verdict
If your whisk is hitting the bowl, do not operate the machine until it is calibrated. The long-term cost of gear replacement far outweighs the five minutes spent with a flat-head screwdriver. If the adjustment screw no longer holds its position, use a tiny drop of low-strength thread locker to keep it in place. My strategy: check the clearance every six months or after every major baking project. This proactive stance ensures your luxury kitchen tools perform at the level you paid for. Ignore the noise, and you’ll be shopping for a new motor assembly by next season. Fix it now, and that mixer will outlast your kitchen cabinets. According to standards set by the National Sanitation Foundation (NSF), equipment must maintain its finish to prevent bacterial growth in scratches; a scraping whisk violates this standard and your food safety.
Frequently Asked Questions
Can I use a whisk from a different brand? No. Even if it fits the shaft, the length and wire gauge are specific to the bowl’s curvature. Using an off-brand attachment is the fastest way to ruin the bowl’s interior coating.
Why does my mixer only hit the bowl on high speeds? This indicates centrifugal flare or a loose hinge pin. At high speeds, the lateral forces increase, pushing the attachment further toward the bowl wall than at low speeds.
Is the gray residue on my whisk dangerous? Yes. That is usually aluminum or stainless steel dust mixed with food. It is the result of the whisk hitting the bowl. Discard any food contaminated with this residue and recalibrate the machine immediately.
How do I know if the whisk itself is bent? Remove the whisk and place it on a flat countertop. Rotate it slowly. If the wires are uneven or the central shaft wobbles, the whisk is compromised and needs replacement.